Focusing in the Dark: How to Focus on Stars for Milky Way Photography
Focusing in the Dark:
Stars, Not Guesswork
Blurry stars are one of the most common and most avoidable problems in astrophotography. The fix isn't a gadget or a trick — it's a method. Here's exactly how I do it, every single shoot, including footage from a real course session showing it live.
 Out of focus
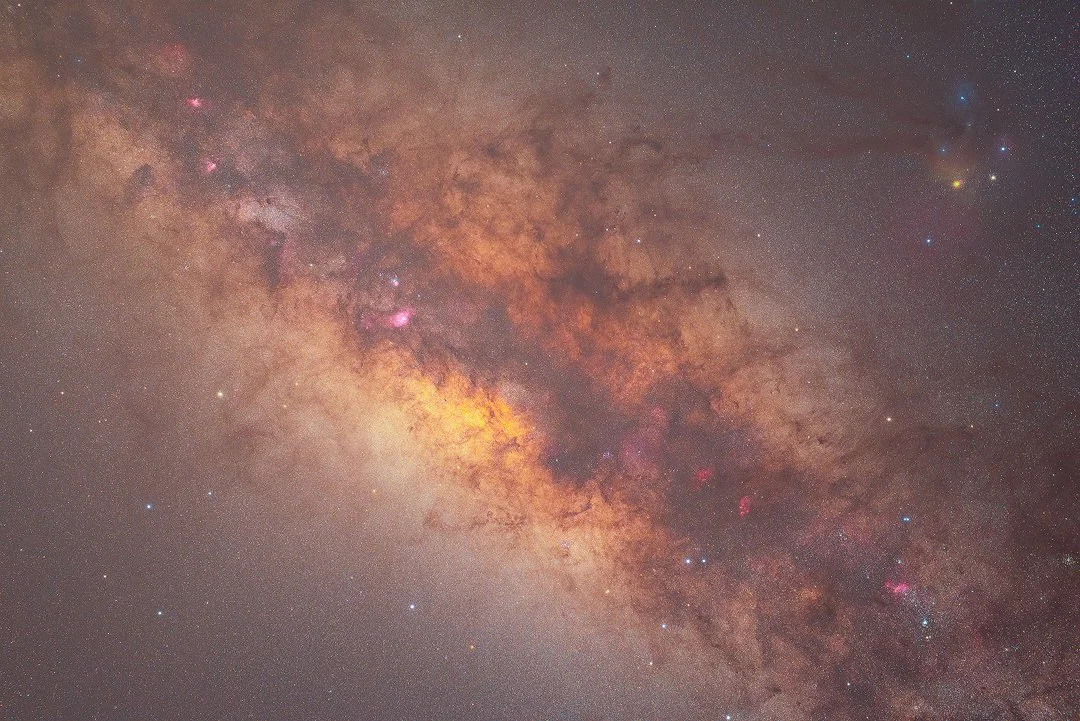 Correctly focused
You've driven an hour out of town, set up in the dark, waited for your eyes to adjust, and finally taken the shot. You get home, open Lightroom, zoom in. The stars are blobs. Soft, smeared, useless. It's one of the most deflating moments in landscape astrophotography, and it happens to almost everyone at some point.
The good news: it's entirely preventable. Focusing on stars in complete darkness isn't difficult once you understand what you're actually doing and why. The method I use takes about 60 seconds, works on virtually any modern mirrorless or DSLR with Live View magnification, and is the most reliable approach I've found. No special gear required.
This month I'm breaking it all down, including a video from one of my courses showing the Live View method live, exactly as I teach it in the field.
Why autofocus fails at night
Autofocus needs enough usable detail in the scene to lock reliably. Whether your camera uses phase-detect, contrast-detect, or a hybrid of both, the result on a dark sky is the same. Tiny stars against near-black don't give the system enough to work with. Many cameras will hunt endlessly without locking, or worse, confirm focus on something they shouldn't.
By the time you realise the shot is soft, the shooting window is gone.
The solution is full manual control. And the tool that makes manual focus accurate at night is your camera's Live View, combined with digital magnification.
The Live View method, step by step
This is the only method I use and the only one I teach. Watch it in action first, then read through the steps below.
-
01Switch to Manual Focus
Switch the lens — or camera body, depending on your system — to MF before you do anything else. Autofocus must be fully disengaged. If it hunts mid-exposure you'll ruin the shot and potentially lose your focus position entirely.
-
02Open Live View and find a bright star
Activate Live View and use the D-pad or touchscreen to move the magnification box onto a bright star. Aim for near the centre of the frame rather than the edge, where lens aberrations can skew your read.
-
03Magnify to maximum
Use the magnification button to zoom into Live View as far as it goes — typically 10x or 16x depending on your body. At this zoom you can see exactly what the star looks like: a large blurry disc when out of focus, a small tight point when you're sharp.
-
04Turn the focus ring slowly — past focus, then back
Rotate the focus ring toward infinity. Watch the star on screen: it will go from a large blob, shrink to a small point, then start growing again as you pass through focus. Go deliberately past the sharpest point in both directions. This is how you confirm you've actually found the minimum rather than just guessed at it.
-
05Lock focus — and don't touch the lens again
Once you've found the smallest, most defined point, stop. Close Live View. Take the shot. The focus ring is now off-limits until conditions change. Even a slight bump can shift focus enough to matter on a high-resolution sensor.
"Don't chase a mathematically perfect point on the LCD. What you're looking for is the smallest, cleanest star image your lens and conditions can render. That's your focus point."
Magnify Live View to maximum, find a bright star, turn the focus ring until the star is as small as possible, lock it, and leave the lens alone.
Focusing for the Milky Way: what actually works
You'll hear a lot of people say "just focus to infinity" for astrophotography. It's not wrong as a starting point, but it's not the whole story. On most modern autofocus lenses, the infinity mark on the barrel is not the same as true optical infinity. It's a rough guide at best, and it shifts with temperature.
The stars are the subject. They are millions of light-years away. Your foreground is not. In a single exposure, you cannot have both tack-sharp stars and a tack-sharp dark foreground. It's physically not possible when shooting wide open at f/2.8. If you try to split the difference, you end up with soft stars and a barely-visible foreground. That's a lose-lose. Focus for the stars. Always.
If you want a sharp foreground alongside sharp stars, the correct approach is to shoot two separate frames: one focused on the stars, one focused on the foreground, and blend them in Photoshop. That's focus stacking, and it's the only way to get both genuinely sharp in a single final image.
How to find focus in the dark
The Live View magnification method above is the most reliable way to nail focus on location. There are also a few practical approaches worth knowing depending on your situation:
The goal in every case is the same: get your focus in the ballpark first, then fine-tune using Live View magnification on the brightest point you can find. Don't start from scratch in complete darkness if you don't have to.
Cold weather focus shift: how to catch it
This catches photographers off guard, especially in alpine or winter environments, but it's worth knowing about even on a cool Queensland night. Large temperature drops during a session can cause a gradual shift in the focal plane, moving you off the sharp point you set earlier. It happens because the different materials inside a lens (glass, metal, plastics) expand and contract at different rates as temperature changes.
The amount of shift varies by lens design and how severe the temperature drop is, but it's a real, documented optical phenomenon worth managing on any long cold session.
How to manage it
Re-check focus every 30–45 minutes during a long cold session, or any time the temperature drops sharply. Open Live View, magnify onto the same bright star, confirm the point hasn't moved. If it has, dial it back in. Note which direction you're adjusting. It tells you which way your specific lens drifts as it cools, which is useful for every future cold session.
Common mistakes that ruin the shot
Beyond getting the initial focus wrong, there are a handful of habits that consistently produce soft stars even when photographers think they've nailed it. These come up in every workshop I run.
Touching the lens after locking focus
The most common one. You lock focus, close Live View, and then attach a filter, adjust the lens hood, or move the camera and in doing so catch the focus ring. On modern lenses with fine-thread electronic rings, even a small rotation shifts focus noticeably. Once it's locked, the ring is off-limits.
Back-button focus left active
If you shoot with back-button focus during the day and forget to check your AF settings at night, you risk accidentally triggering autofocus mid-session and immediately destroying your carefully set manual focus position. Check your AF setup before the session starts, not after something goes wrong.
Trusting the infinity mark on the lens
On most modern lenses the infinity mark on the focus scale is not a reliable indicator of true optical infinity. The actual sharp focus point at infinity often sits slightly before or after the mark, depending on the lens and temperature. Never set focus by the mark alone. Always verify with Live View magnification.
Focusing on a dim star
When choosing which star to focus on, pick a bright one. A bright star or visible planet works well. Dim stars at maximum Live View magnification can be hard to resolve clearly enough to judge sharpness accurately. A bright star gives you a clean, workable image to work with.
Lock focus, don't touch the lens, check your AF settings, ignore the infinity mark, pick a bright star. Do those five things and you've eliminated the vast majority of avoidable focus failures in the field.
Learn this in the field,
not just on a screen.
Workshops with astrophotography content include field teaching on this exact method: planning, focusing, and night setup on location, when conditions and access allow. A few spots remaining across the 2026 calendar.